Quick Answer
- Pick a free image editor that handles
.pngtransparency — Photopea, Paint.NET, or GIMP. - Make a pack folder with a
pack.mcmetafile inside it. - Grab a texture, edit it while keeping the same pixel size, and save as
.png. - Zip the contents of the folder, drop the zip in your resourcepacks folder, and turn it on in Minecraft.
Start with one texture in a Java Edition pack: set up the folder, recolor an item, and check it in-game. This guide covers the files and free editors you need. Once the first edit works, build out the rest of your pack.
What a texture pack really is
Every block and item in Minecraft uses a tiny image. Dirt is a small image. Your sword is a small image. The hotbar is an image. A texture pack (called a resource pack on Java Edition) is simply your own versions of those pictures, bundled into one folder. When you turn the pack on, Minecraft shows your art instead of the default. Nothing about the game is hacked — you are only swapping the artwork, but you should still download from trusted sources and only share artwork you own or have permission to use.
Free tools you can use
You only need one image editor that can edit .png files and keep transparency (the see-through parts). Here are the best free picks:
Runs entirely in your web browser, so it works on school or family computers where you cannot install programs. Great starting point.
Best for: no-install editingEasy to learn and made for exactly this kind of work. Note: this is the free program Paint.NET, not the basic "Paint" app that comes with Windows.
Best for: easiest desktop startMore powerful, with more buttons to learn. GIMP works on every system; Krita is great if you like drawing with a mouse or tablet.
Best for: growing into bigger packsBuild your first pack
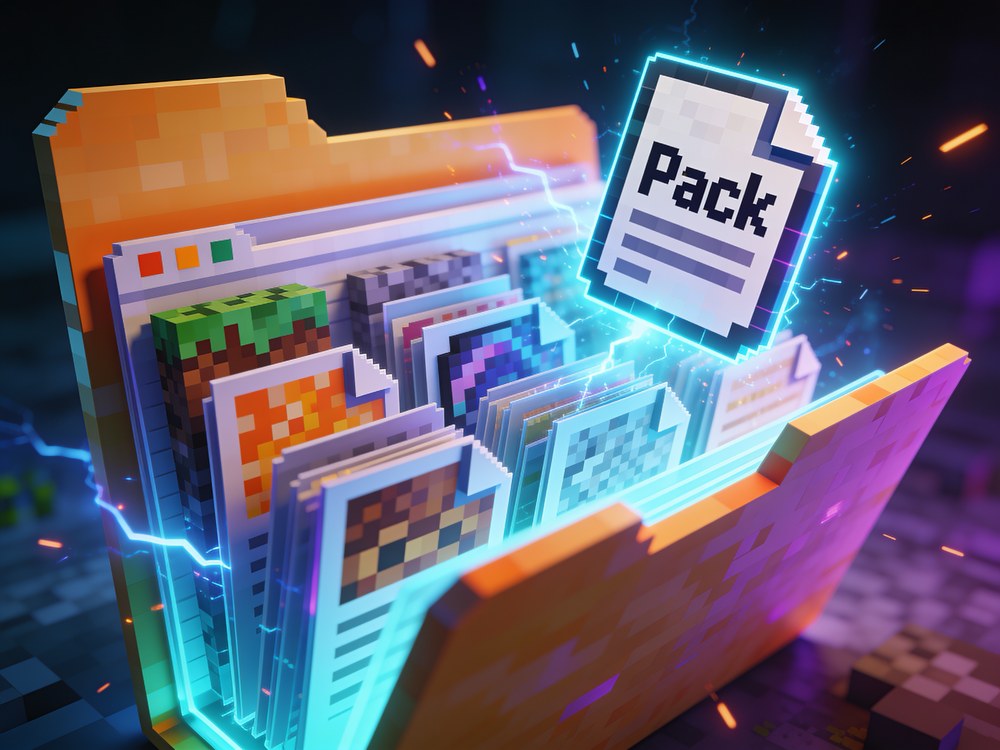
Set up your pack folder
Make a new folder (your Desktop is fine) and name it something like MyFirstPack. Inside it you need a pack.mcmeta file and a textures folder path. Your pack should look like this:
The pack.mcmeta is a small text file. Open Notepad (or any text editor), paste this in, and save it as pack.mcmeta — make sure it is not saved as pack.mcmeta.txt:
pack.mcmeta{
  "pack": {
    "pack_format": 32,
    "description": "My first texture pack"
  }
}
The pack_format number changes with each Minecraft version. If your pack shows a version warning, look up the right number for your version. The example above targets Java 1.20.5–1.20.6, not every version. Classic 1.8.9 PvP packs use 1 and the older textures/items/ and textures/blocks/ folders. Follow the structure and metadata for your target version.
Get a texture to edit
You do not draw from a blank canvas — you start from an existing image so the size and shape are already correct. Two easy ways:
- Edit an existing pack: download a pack you like, unzip it, and open one of its
.pngfiles. Fastest way to learn how the pros do it. - Use the default textures: Minecraft's own textures live inside the game files. Search "extract default Minecraft textures" for your version, or start from a clean base pack.
Drop that texture into your textures/ folder, keeping the same sub-folder it came from (item textures in textures/item/, blocks in textures/block/).
Edit your first texture
Open the .png in your editor and zoom in a lot so you can see each pixel. Then recolor or redraw it. The single most important rule for beginners:
Here is the idea — same grid, new colors:
Good first edits to practice on: recolor a sword, brighten the dirt or grass, or make glass cleaner. Small wins keep it fun. When you are done, save (or "export") as a .png with the exact same file name.
Test it in Minecraft
- Open your pack folder, select
pack.mcmeta,assets, and your optionalpack.png, then zip those together. Thepack.mcmetamust sit at the top level inside the zip, not inside an extra folder. - In Minecraft go to Options → Resource Packs → Open Pack Folder.
- Move your
.zipinto that folder, go back, and move the pack to the active side. - Click Done and check out your new texture in-game.
pack.mcmeta exists, is valid JSON, and is not saved as a .txt file. A format mismatch may show a version warning instead of hiding the pack.What resolution should I use?
Resolution is how many pixels wide each texture is. The default game is 16x. Higher resolutions give you more pixels to draw and use more texture memory. Their effect on FPS depends on the pack and your computer. For your first pack, stick with 16x.
Tips & common mistakes
- Start tiny. Edit one sword or one block before trying a whole pack.
- Keep the same size and file name for every texture you replace.
- Use the pencil tool, not the brush, for clean pixel edges.
- Turn off smoothing / anti-aliasing when resizing, or your texture turns blurry.
- Save often and keep a backup copy of your folder before big changes.
- Do not unzip your pack inside the resourcepacks folder — Minecraft wants the zip or one clean folder.
pack.mcmeta is missing or misspelled..png..zip resource packs; Bedrock uses .mcpack. Pick one to start.Frequently asked questions
Do I need to know how to code?
No. Texture packs are just images and one small text file. There is no programming involved at all.
Is making a texture pack free?
Yes. Every tool in this guide — Photopea, Paint.NET, GIMP, and Krita — is completely free.
How long does it take to make a pack?
Your first edited texture can be done in about 15 minutes. A full pack takes longer because you are drawing many textures, but you can release it bit by bit.
What size should textures be?
Start at 16x, which matches the default game. It is faster to make and most popular PvP and Bedwars packs are 16x or 32x anyway.
Can I make a pack on a phone or Chromebook?
Use Photopea in the browser to edit images. Building and testing the final pack is much easier on a computer, but you can still draw textures anywhere.
Can I share or upload my texture pack?
Yes. Once your pack works in-game, you can share it with the community and start earning downloads. Only use art you made or are allowed to use.
 Join Now